Search This Blog

Showing posts with label recycle. Show all posts

Monday, March 28, 2016

How I Made A Trellis

How To Make A Trellis From Scrap Wood 


Rose On Trellis March 24, 2016

It started out when our Rose that was climbing up the side of the house decided it wanted to grow the opposite way.  Oh I trimmed it every year, but it still grew towards the ramp.  I also wasn't happy about how the house looked with the lattice on the side.  Someone told me that it looked like my house had wings.  They weren't all the pretty either.  So  I decided to allow the Rose to do what it wanted to do and made a trellis for it to climb on.


The Rose in the Wooden Barrel.  See opening on the bottom of the house...
that is where the rose decided that it was going to send the tap root to.

At first we thought that it would be easy to dismantle the old wooden barrel that a neighbor gave us to uses many years ago when she was moving and couldn't take it with her.  That was further from the truth as one can get.  Oh, taking down the boards around the planet was the easy part because they were so decomposed.  Digging out the Rose was an entirely different story.  The main root grew and grew and grew and it is still right where it grew and we cannot find the end.  It grew right down under the house and we cannot get to dig anymore under there, so there is where it stays.  

So we kind of leaned the Rose up against the trellis.  It likes it there and is coming back pretty good as you can see on the top picture.

I went around the yard and under the crawlspace and under the back deck looking for things that I could use to make an easy and pretty Trellis.  I found a few 2x4's and some old wood flooring planks that were left over from making our kitchen counter top with.  I measured the deck or ramp at the point where it was the most straight.  It does curve before the banisters start.  So I had to get it just right. 


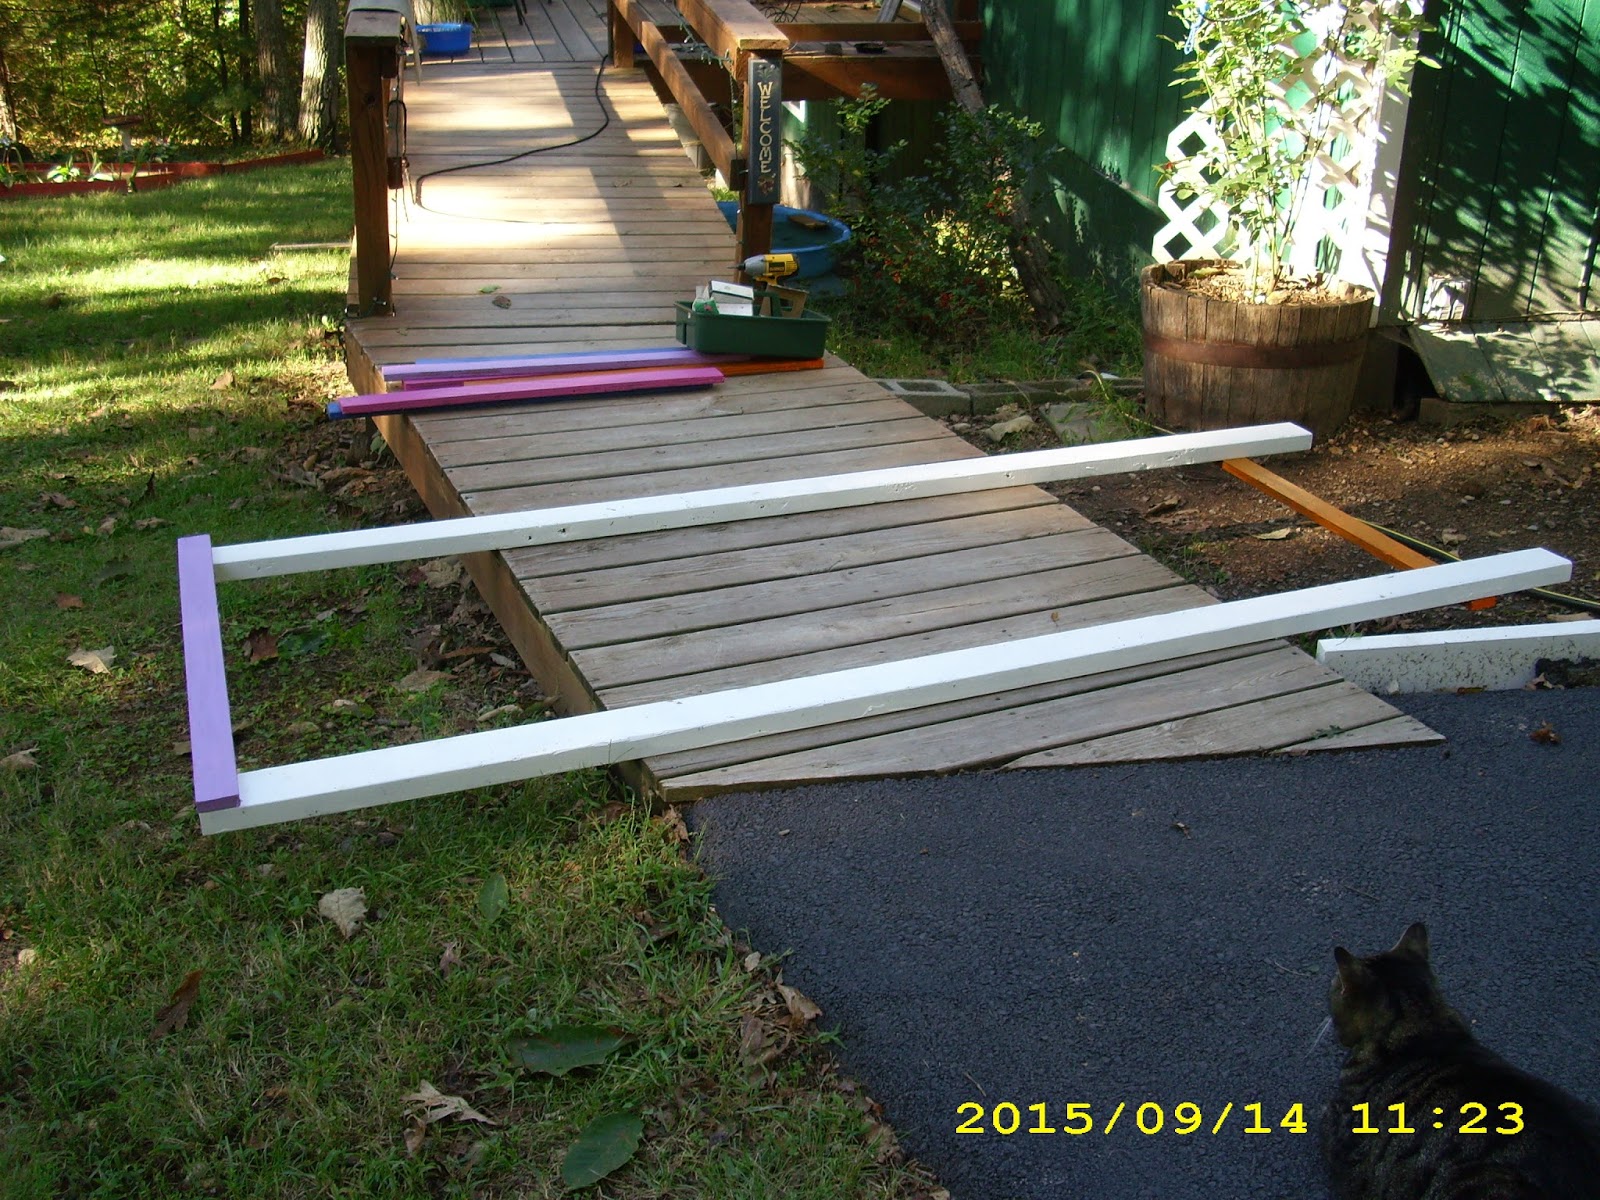
All parts painted and ready to be put together.

I figured out how deep I needed to make it and measured the boards and then cut them.  I want birds and bees to nest and feed in the Rose and on the trellis so I pained the boards bright colors.  The Rose is a bright Pink.  I don't think it really matters because when the Rose gets full you will not be able to even see the trellis.  During the winter months you will though and I painted them to match the colors in my Raised Gardens at the top of my lot.  We have an acre but only want to use the top portion.


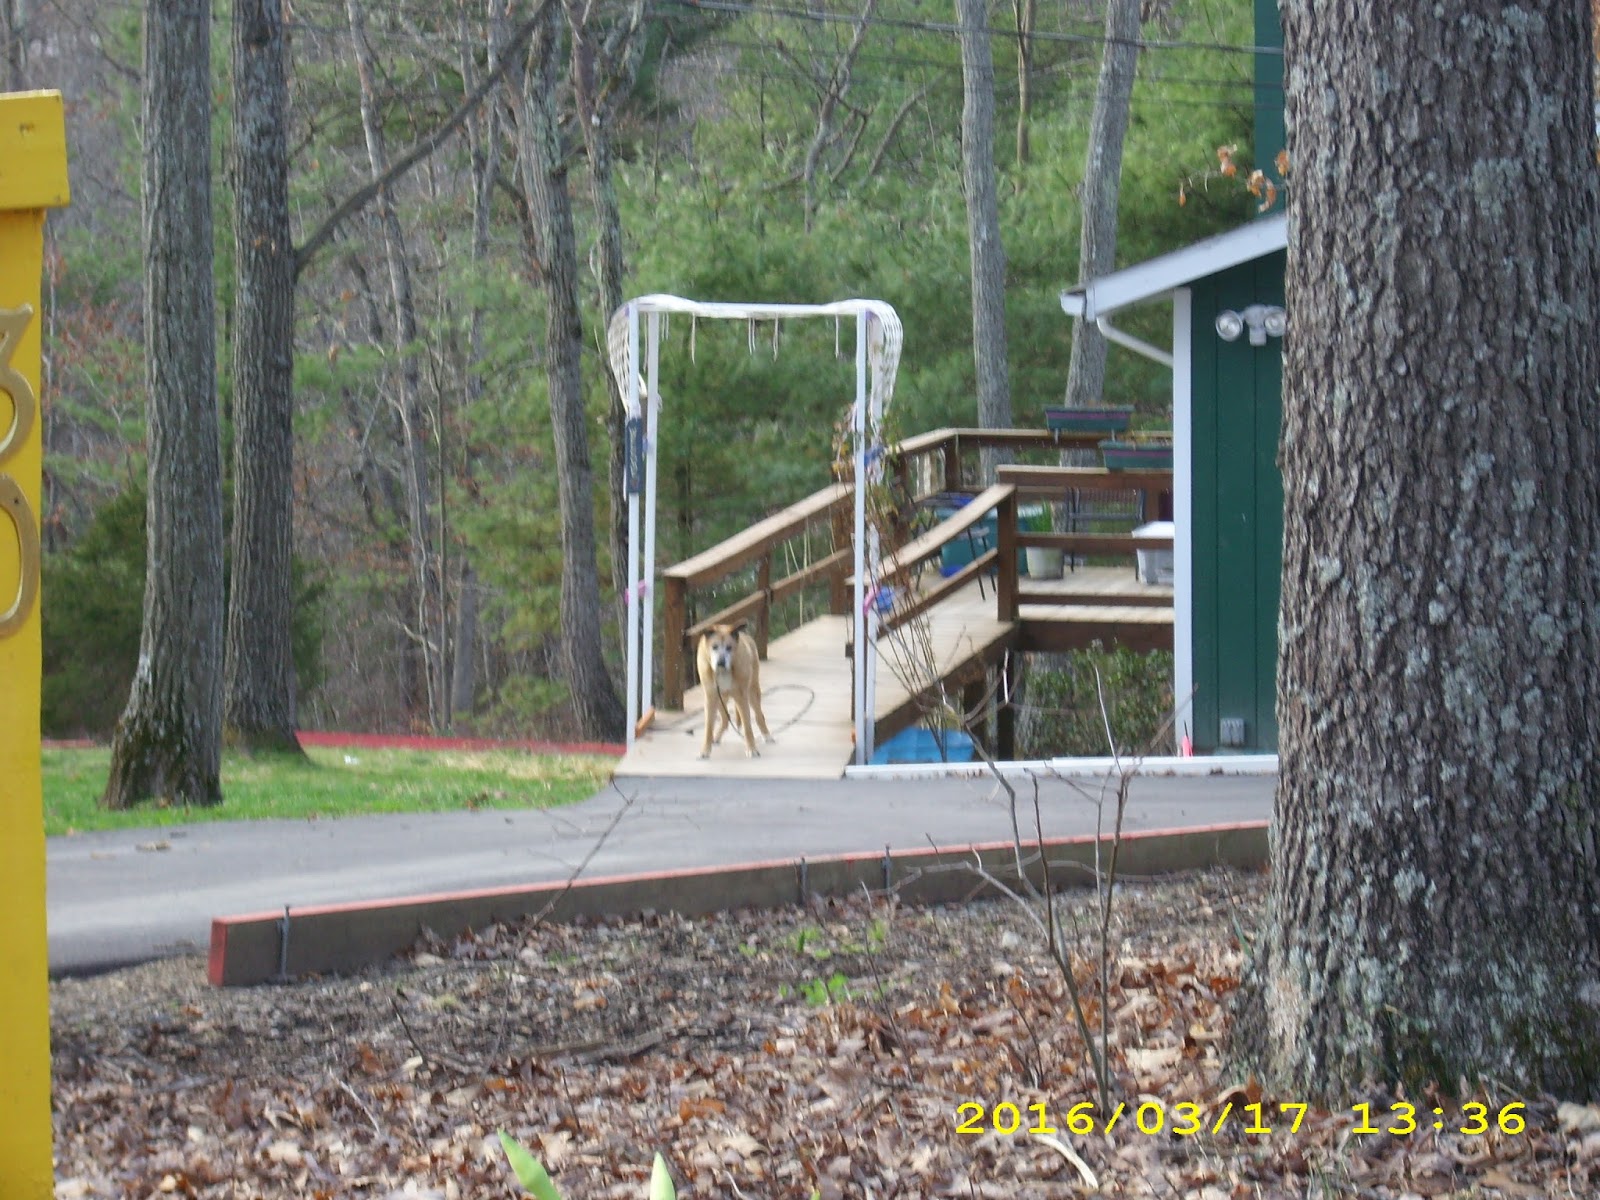
Duke
After painting the boards and allowing them to dry for a day or so, I started to assemble them.  The boards all looked very pretty.  I had to find something to go over the top so that the Rose will climb over.  I wish that I could put another climbing plant on the other side but my dog will tear that out the first time he runs to greet his Daddy when he comes home or after a cat that comes within his reach.  Oh he doesn't hurt them or chase them.  He loves them and they love him and the cats are always sniffing in his ears or rubbing up against him.


Skeleton of one side of the Trellis.
To put the board together I laid them down on the deck and screwed them together one side and then the other side.  This is where I needed someone to help me.  After screwing them together I needed some one to hold the sides up to the deck so that I could screw them into the sides below the floor.  Man was that so difficult!  The deck wood was pressure treated and it was deck wood.  It is a special kind of wood used for anything made to be out in the weather.  It was like cement!  I am not making it bigger than what it is.  


Side is ready to be put up.
My husband even tried hammering nails into it.  I hammered nails into it and the nail head was imploding into itself.  Nope not bending and I could understand that.  I even drilled starter holes in the wood and broke off two drill bits.  Thar wood is like petrified.  We think that we got enough steel in it to hold it. Crazy!

We finally get the sides up and still I have not figured out what I can use for the top.  Oh and my husband is tall and I had to make the trellis high even that he would not hit his head on it.  I had t get on a step stool for me to reach the tip of it.


Here I am tying down the lattice.
We had. still do, pieces of white plastic lattice leftover and so I screwed two pieces together in the center and laid it across the top of the sides of the trellis.  I had to put some leftover PVC pipe alongside of that to keep it from falling in.  I think that I did a pretty good job as we had 42 inches of snow fall during the winter....all at once and it is still standing.

When doing projects at our house, we really need to get creative.  We don't have a whole lot of money and I don't just up and throw things away.  I am resourceful and I like to recycle and re purpose things.  

That's How Gardening is On Misty Acre!


Friday, May 15, 2015

Garden Journal Entry May 15 2015


It has been a while since I have posted about my gardening around here.  It is because I was anticipating on re-purposing a large 33 gallon trashcan that we re-purposed for a rain barrel and it got a split in it and could no longer hold the water that came from the roof.  I am a recycler of things around my house, if I can do it I will, other than that I will add it to my recycled items for my husband to take to the recycling center in town.

Before I tell you how I re-purposed and how I made it I want to show you all my gardens.  There are lots of new developments and plants and ideas that I got, implemented and observed concerning the things that I have done so far.

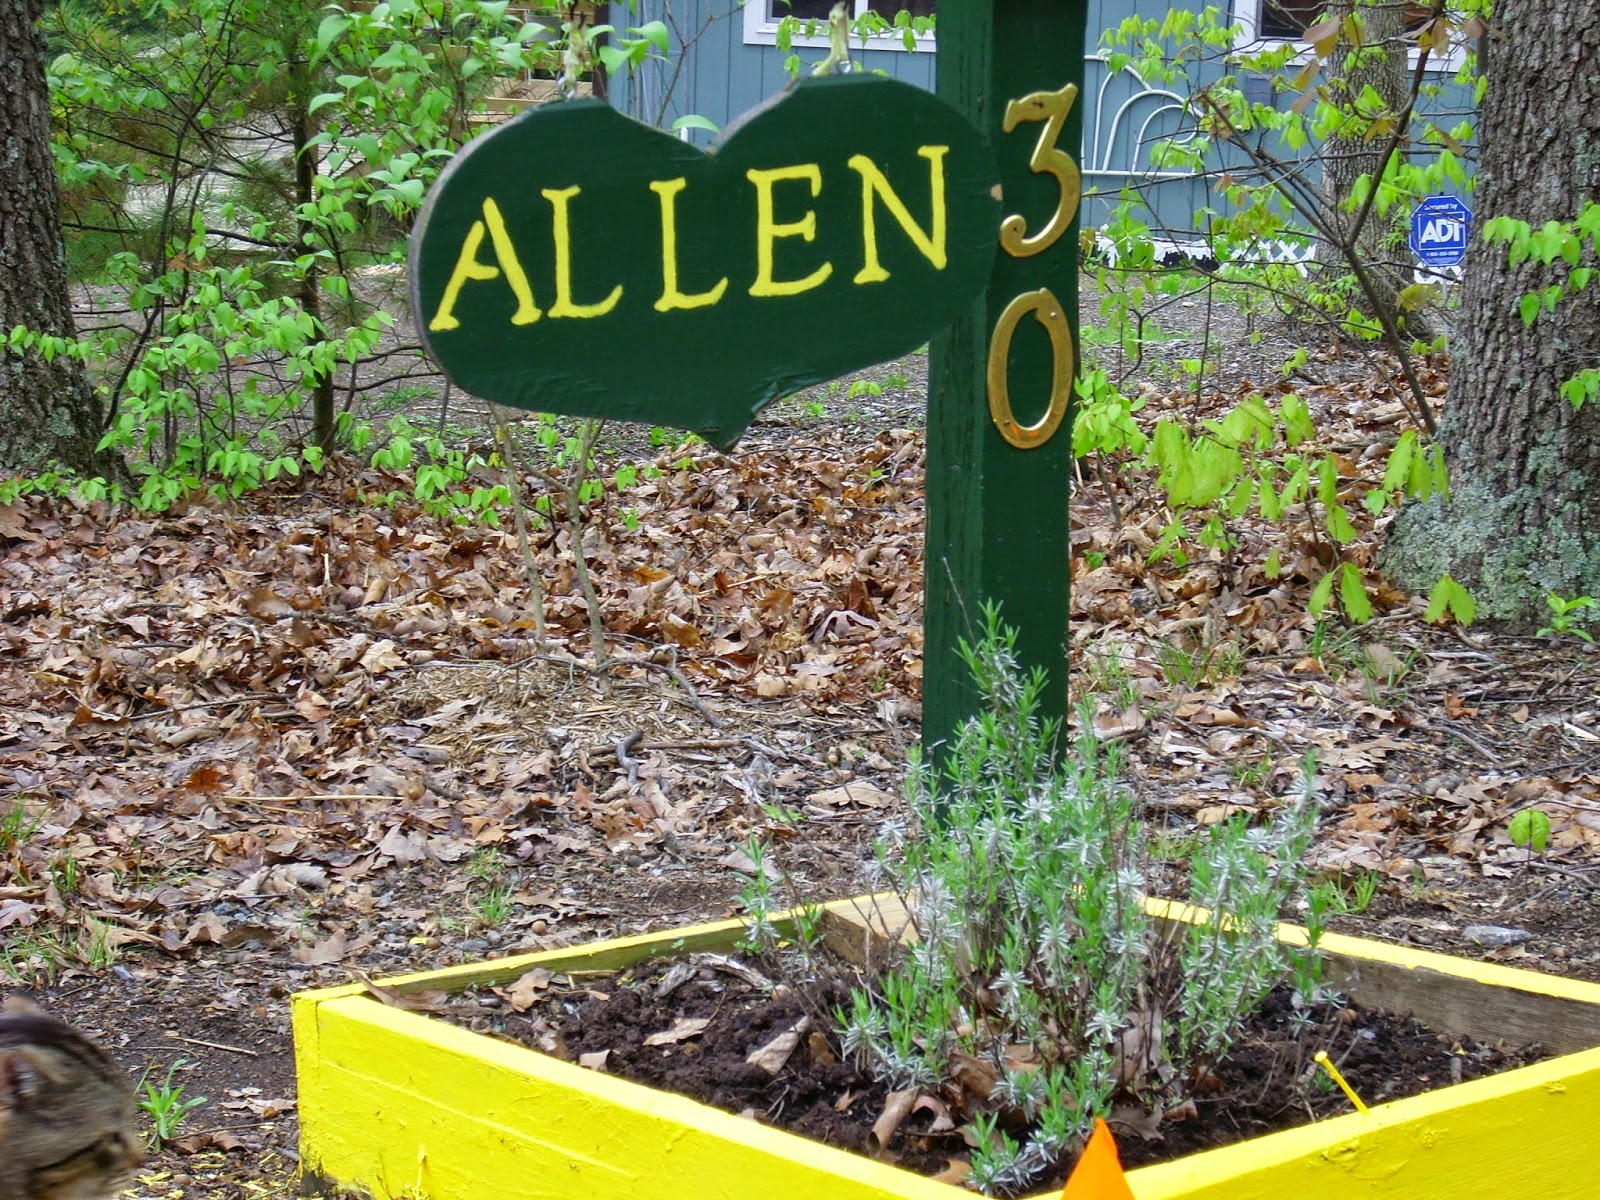
The first thing that I was wanting to do for a while was make a new name sign for my small address garden.  It has been a few years that I have really need to get sown and find another board, trace a heart on it and cut it out.  The old sign feel apart in my hands when I picked it up.  I did have it hanging on some hooks under the bar, but every time the wind would pick up the sign would fall off.  I finally just laid it on the ground until I could find the time and the wood to make a new one.  It was toast as we say around her for things that un-usable anymore.  No re-purposing for that one.  Here is a picture of the new sign and one of the old one.  I screwed the new one on the bar this time and it surprised me that it looks better than hanging.

BEFORE


AFTER

I went to my local farm supply store, Boltz Hardware, Garden Center and General Store and asked them about how every year that I have tried to grow squash I get a flower on it and then the next day the plant is dead.  I have asked the same question of the Extension Office when they were at the last 4-H club County Fair and they did not even know.  Isn't that strange?  I thought that it was.  Anyway he told me that it was a Squash Bug that will come out of the ground...any soil.  The larvae will burrough it's way up the stem and eat it as it goes along.  That is why it is so sudden.  He gave me something that will kill that bug and a lot more bugs along with it.  I also got me a bag of Diatomaceous Earth to sprinkle on my roses and any other vegetables and flowers that all the new caterpillars will devour in a single night.

HERE IS THE STUFF THAT I USED TO POUR AROUND THE PLANT
 AND ALSO THE BAG OF DE.  

It is hard for me to pronounce the full name correctly so I just say DE.


I used the liquid on all of my plants, not just the squash.  I almost used the whole bottle.  I don't think that store person understood that I have a large assortment of gardens.  Wow is all I can say after I used this stuff on my plants.


I have a holly bush, really small and had not grown at all in the last four years that we planted it in one of our gardens.  After I put this stuff on it and around it, It actually has new growth on it.  That was about in a week's time and not months or years!  I am very happy about that as I think the Holly is too.
We have a creep crawly that loves to eat roots and I dropped a drop of this stuff on it and it killed it instantly.  Since we live in the woods we have all kinds of things that live under the ground that will eat and steal roots, bulbs and the like.  It sure did the trick with this plant!

We have these gardens growing like weeds!  Hahaha!  That is what I called the new one that we put in next to the driveway.  I had to divide and move some Daffodils to a new place and then I had orders many Fall blooming bulbs from Brecks Bulbs another favorite place of mine and spending lots of money there.

HERE IS THAT GARDEN


VEGETABLES

I purchased more tomatoes, Peppers and Squash and Zuccini and they are doing really good after I also put that liquid bug, creep crawly stuff on them after planting them.  I am excited that I have flower buds on some of my Yellow Tomatoes today.  I am on my way to really having a garden that will produce for me.  It is good to know that I fixed the bug problem that I never realized that I had.  Thank Goodness for that!


DEER CHASERS

This is one of the many Deer Deterrent that I use.  It is very inexpensive and has worked for 2 years now and my Hostas are really growing now.  You can purchase these at any store that has children's toys and it will be in the toy section.  I have a variety of colors of them and have them in various gardens.  They are the pinwheels and I get the plastic one show here.  The wind catches them and spins it around, night and day and the metallic of the plastic shines bright all over the place.  The deer and other critters do not like the noise, the sound and the sparkles.  Good for me and bad for those who like to dine on my flowers.  Win-Win all around!


Tuesday, July 9, 2013

How I Recycled 2 Wheelbarrows Into Beautiful Gardens


Just think about how people use things around the house to make gardens with.  Ever wonder how to do that?  It's easy if you have all the things that you need right in your own back yard.  Don't go buying things that you may already have sitting around collecting dust or spider webs.  Recycle, Reuse and Repurpose them

My Inspiration

Moving up to the west side of a mountain full of rocks, shale and roots gave me a chance for me to do what I love to do and that is gardening.  Only  what I have found was lots of roots and rock and shale in this ground that we have.  It is very difficult to work with.  Digging up the shale is difficult at best with a simple hand shovel.  All it seems to do is give you slivers of rock when you hit it or try to dig it up.  I spend a good half hour digging up a rock about the size of a soft ball one day.  Each time the I tried to dig a piece out I would only get a sliver out at a time.  The dirt or top soil as gardeners like to call it is only about 1/2 inch thick.  Not good for gardens.  Not the kinds that I wanted to make.  So the obvious way to make a garden is to raise them up with whatever we had/have on hand here.  
We aquired a couple of wheelbarrows and I gave my husband a couple of years to do something with them.  

Finally my husband couldn't stand those rusted wheel barrows sitting in back of the wood pile. They were missing some parts and it was too expensive to fix them and we had no funds to purchase new ones. He was trying to figure out a way to take them to the recycling center, but really couldn't fit them into the trunk of the car. I was watching one of my gardening shows and on one of them it was describing how to make planters out of various containers. Oh Ha! I got the idea of what to do with those old wheelbarrows! I was going to make them into gardens and this is how I did it.


This is the slope of our land.
Geography of Our Property
First let me say that my gardening is a bit difficult because of the slope and type of soil that we have. It is also difficult to grow anything that needs full sun for the entire day or that won't run off into the ravines and or small stream that runs behind our lot.  Many people think because of the leaves that drop every year and decompose into the soil that we have good top soil. We thought this too, but it is not so. When it rains and it can rain for many hours the water does not soak into the soil. We have about 1/2 inch at the most of top soil layering over shale and roots of trees. This is why I have many raised gardens and I have to buy dirt. Many gardeners think it is funny when I tell them that I have to BUY my Dirt. LOL

How I Made Gardens From Wheelbarrows


  • First I dragged the wheel barrows to the part of the yard where I thought they would look nice.  Dragged because they had no wheels on them. I chose plants that would grow out and runneth over the sides.


  • I cleaned them out of all spider webs and egg sacs.Then I drilled a few holes in the bottom of the wheelbarrow so that the excess water could drain.
  • After drilling the holes in the bottom, add some gravel for drainage. Top that off with some Garden Soil or Potting Soil and then arrange your plants and then plant them.I went to the store and bought some plants that I thought would look nice in them. I also love Primroses and had them at another time and my dog ran one day and in the process his lead that he was on sheared off the Primroses I had planted in an old cut down tree stump killing all my beautiful primroses. So I got some this time and planted them in the Red wheelbarrow.
For the black wheel barrow I decided to get Petunias, the WAVE to be exact as I know they will cover that wheelbarrow and then some. For a bit of an accent I also planted a Cork Screw Plant in the center of the petunias.


Results of my Labor


© Debra K. Allen a.k.a Lady Guinevere
I researched and wrote this article. Please do not copy and paste any part of this article, picture included for your own use. I will find you and report you for stealing.  It is my right to change any information therein at any time and/or change the location of my article.