How To Make A Trellis From Scrap Wood
 |
| Rose On Trellis March 24, 2016 |
It started out when our Rose that was climbing up the side of the house decided it wanted to grow the opposite way. Oh I trimmed it every year, but it still grew towards the ramp. I also wasn't happy about how the house looked with the lattice on the side. Someone told me that it looked like my house had wings. They weren't all the pretty either. So I decided to allow the Rose to do what it wanted to do and made a trellis for it to climb on.
 |
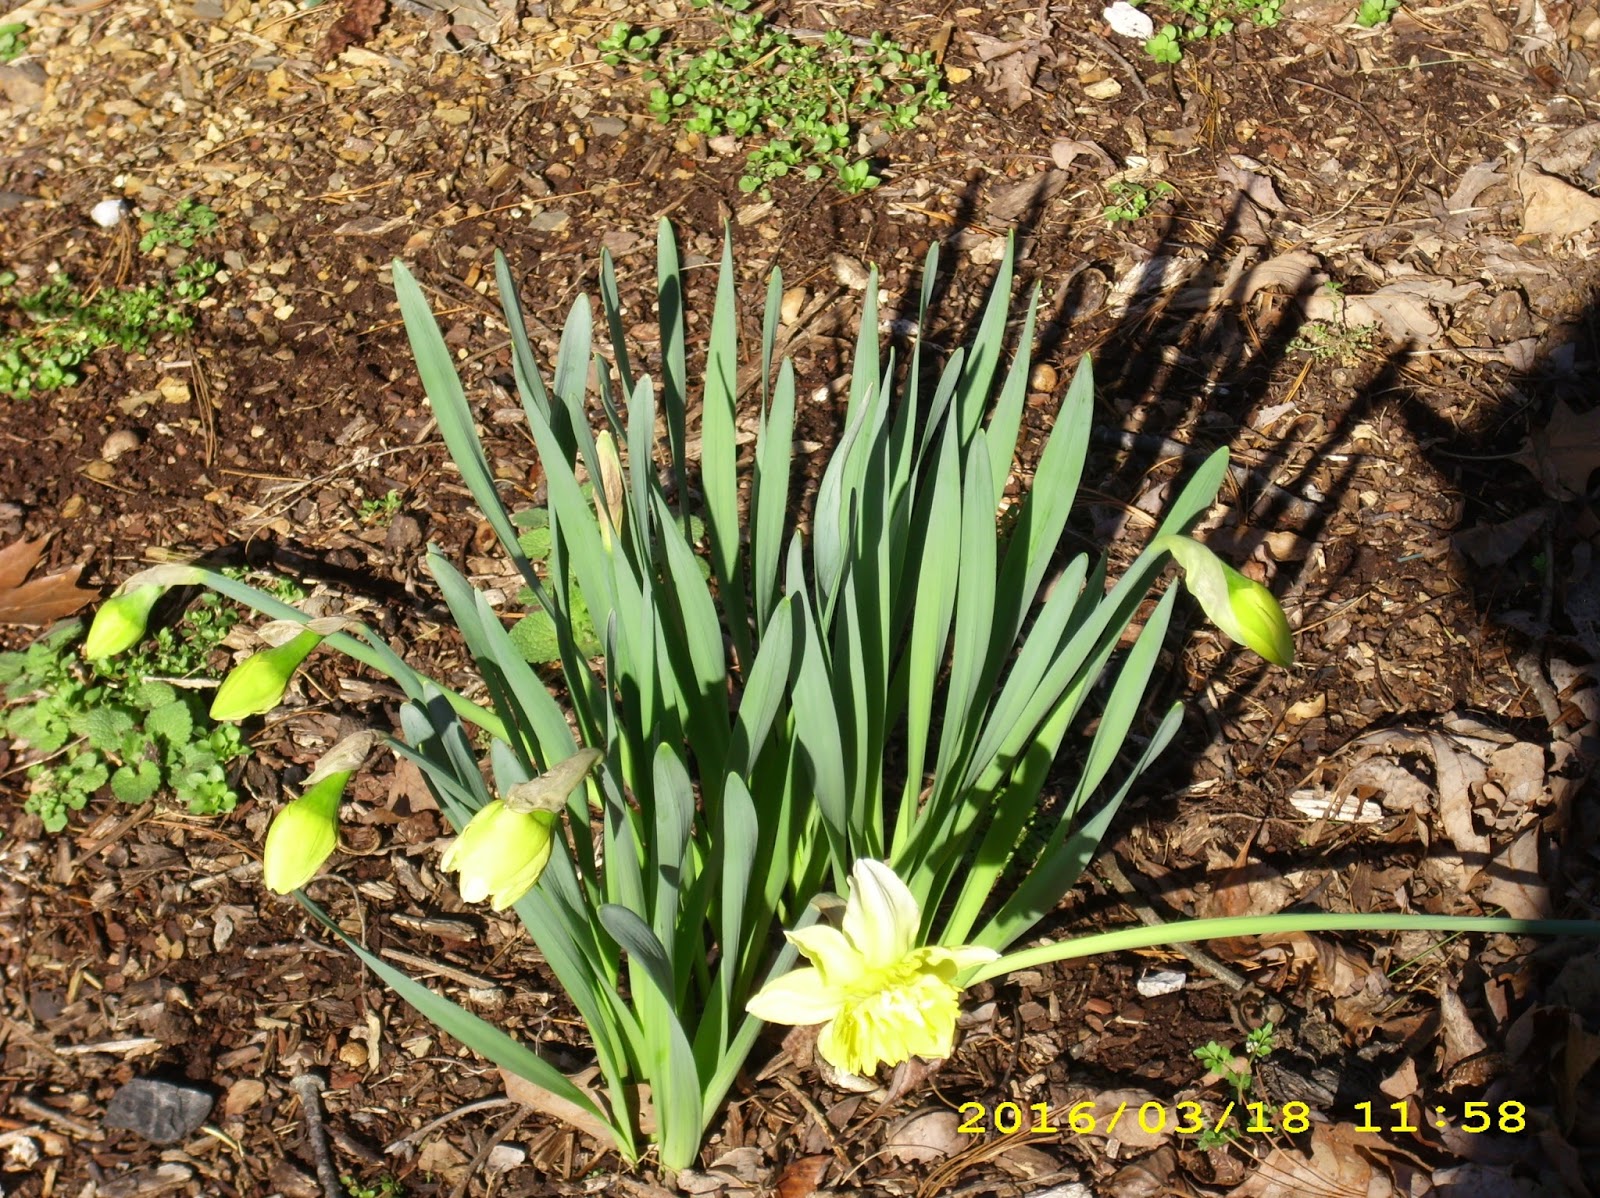
| The Rose in the Wooden Barrel. See opening on the bottom of the house... that is where the rose decided that it was going to send the tap root to. |
At first we thought that it would be easy to dismantle the old wooden barrel that a neighbor gave us to uses many years ago when she was moving and couldn't take it with her. That was further from the truth as one can get. Oh, taking down the boards around the planet was the easy part because they were so decomposed. Digging out the Rose was an entirely different story. The main root grew and grew and grew and it is still right where it grew and we cannot find the end. It grew right down under the house and we cannot get to dig anymore under there, so there is where it stays.
So we kind of leaned the Rose up against the trellis. It likes it there and is coming back pretty good as you can see on the top picture.
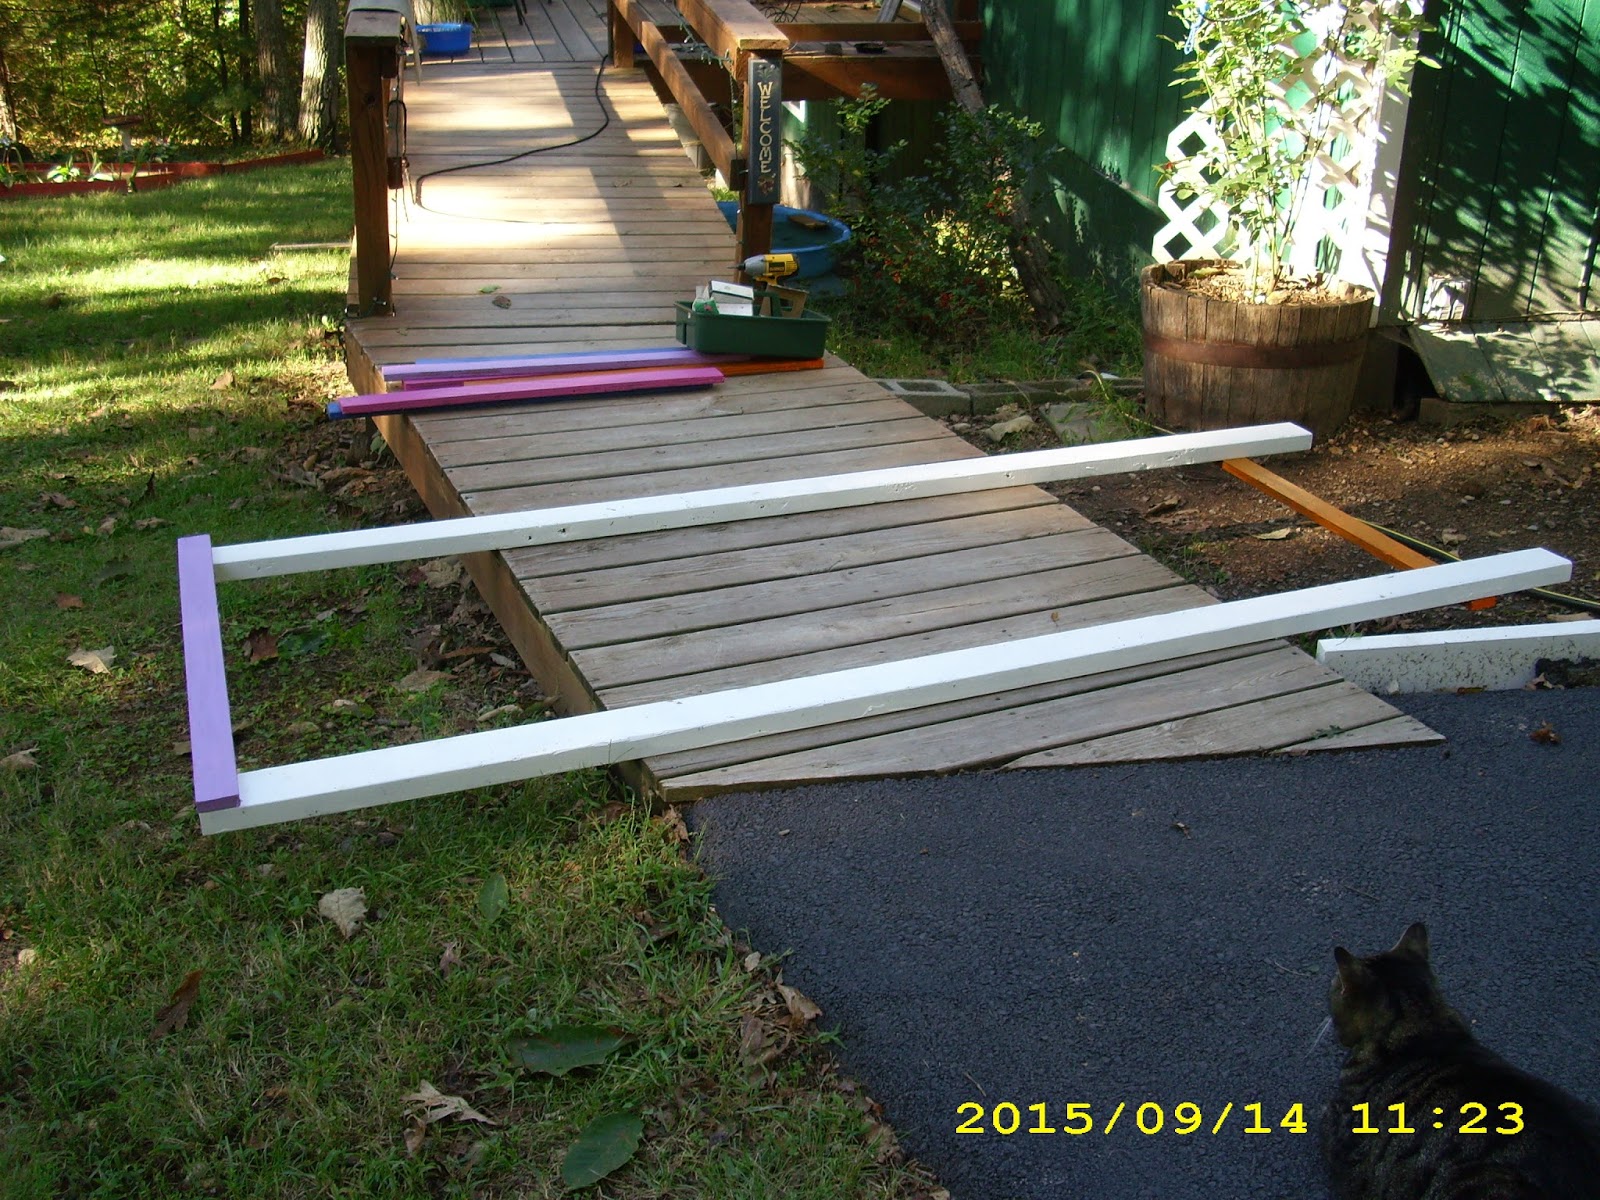
I went around the yard and under the crawlspace and under the back deck looking for things that I could use to make an easy and pretty Trellis. I found a few 2x4's and some old wood flooring planks that were left over from making our kitchen counter top with. I measured the deck or ramp at the point where it was the most straight. It does curve before the banisters start. So I had to get it just right.
I figured out how deep I needed to make it and measured the boards and then cut them. I want birds and bees to nest and feed in the Rose and on the trellis so I pained the boards bright colors. The Rose is a bright Pink. I don't think it really matters because when the Rose gets full you will not be able to even see the trellis. During the winter months you will though and I painted them to match the colors in my Raised Gardens at the top of my lot. We have an acre but only want to use the top portion.
After painting the boards and allowing them to dry for a day or so, I started to assemble them. The boards all looked very pretty. I had to find something to go over the top so that the Rose will climb over. I wish that I could put another climbing plant on the other side but my dog will tear that out the first time he runs to greet his Daddy when he comes home or after a cat that comes within his reach. Oh he doesn't hurt them or chase them. He loves them and they love him and the cats are always sniffing in his ears or rubbing up against him.
To put the board together I laid them down on the deck and screwed them together one side and then the other side. This is where I needed someone to help me. After screwing them together I needed some one to hold the sides up to the deck so that I could screw them into the sides below the floor. Man was that so difficult! The deck wood was pressure treated and it was deck wood. It is a special kind of wood used for anything made to be out in the weather. It was like cement! I am not making it bigger than what it is.
My husband even tried hammering nails into it. I hammered nails into it and the nail head was imploding into itself. Nope not bending and I could understand that. I even drilled starter holes in the wood and broke off two drill bits. Thar wood is like petrified. We think that we got enough steel in it to hold it. Crazy!
We finally get the sides up and still I have not figured out what I can use for the top. Oh and my husband is tall and I had to make the trellis high even that he would not hit his head on it. I had t get on a step stool for me to reach the tip of it.
We had. still do, pieces of white plastic lattice leftover and so I screwed two pieces together in the center and laid it across the top of the sides of the trellis. I had to put some leftover PVC pipe alongside of that to keep it from falling in. I think that I did a pretty good job as we had 42 inches of snow fall during the winter....all at once and it is still standing.
When doing projects at our house, we really need to get creative. We don't have a whole lot of money and I don't just up and throw things away. I am resourceful and I like to recycle and re purpose things.

So we kind of leaned the Rose up against the trellis. It likes it there and is coming back pretty good as you can see on the top picture.
I went around the yard and under the crawlspace and under the back deck looking for things that I could use to make an easy and pretty Trellis. I found a few 2x4's and some old wood flooring planks that were left over from making our kitchen counter top with. I measured the deck or ramp at the point where it was the most straight. It does curve before the banisters start. So I had to get it just right.
 |
| All parts painted and ready to be put together. |
I figured out how deep I needed to make it and measured the boards and then cut them. I want birds and bees to nest and feed in the Rose and on the trellis so I pained the boards bright colors. The Rose is a bright Pink. I don't think it really matters because when the Rose gets full you will not be able to even see the trellis. During the winter months you will though and I painted them to match the colors in my Raised Gardens at the top of my lot. We have an acre but only want to use the top portion.
 |
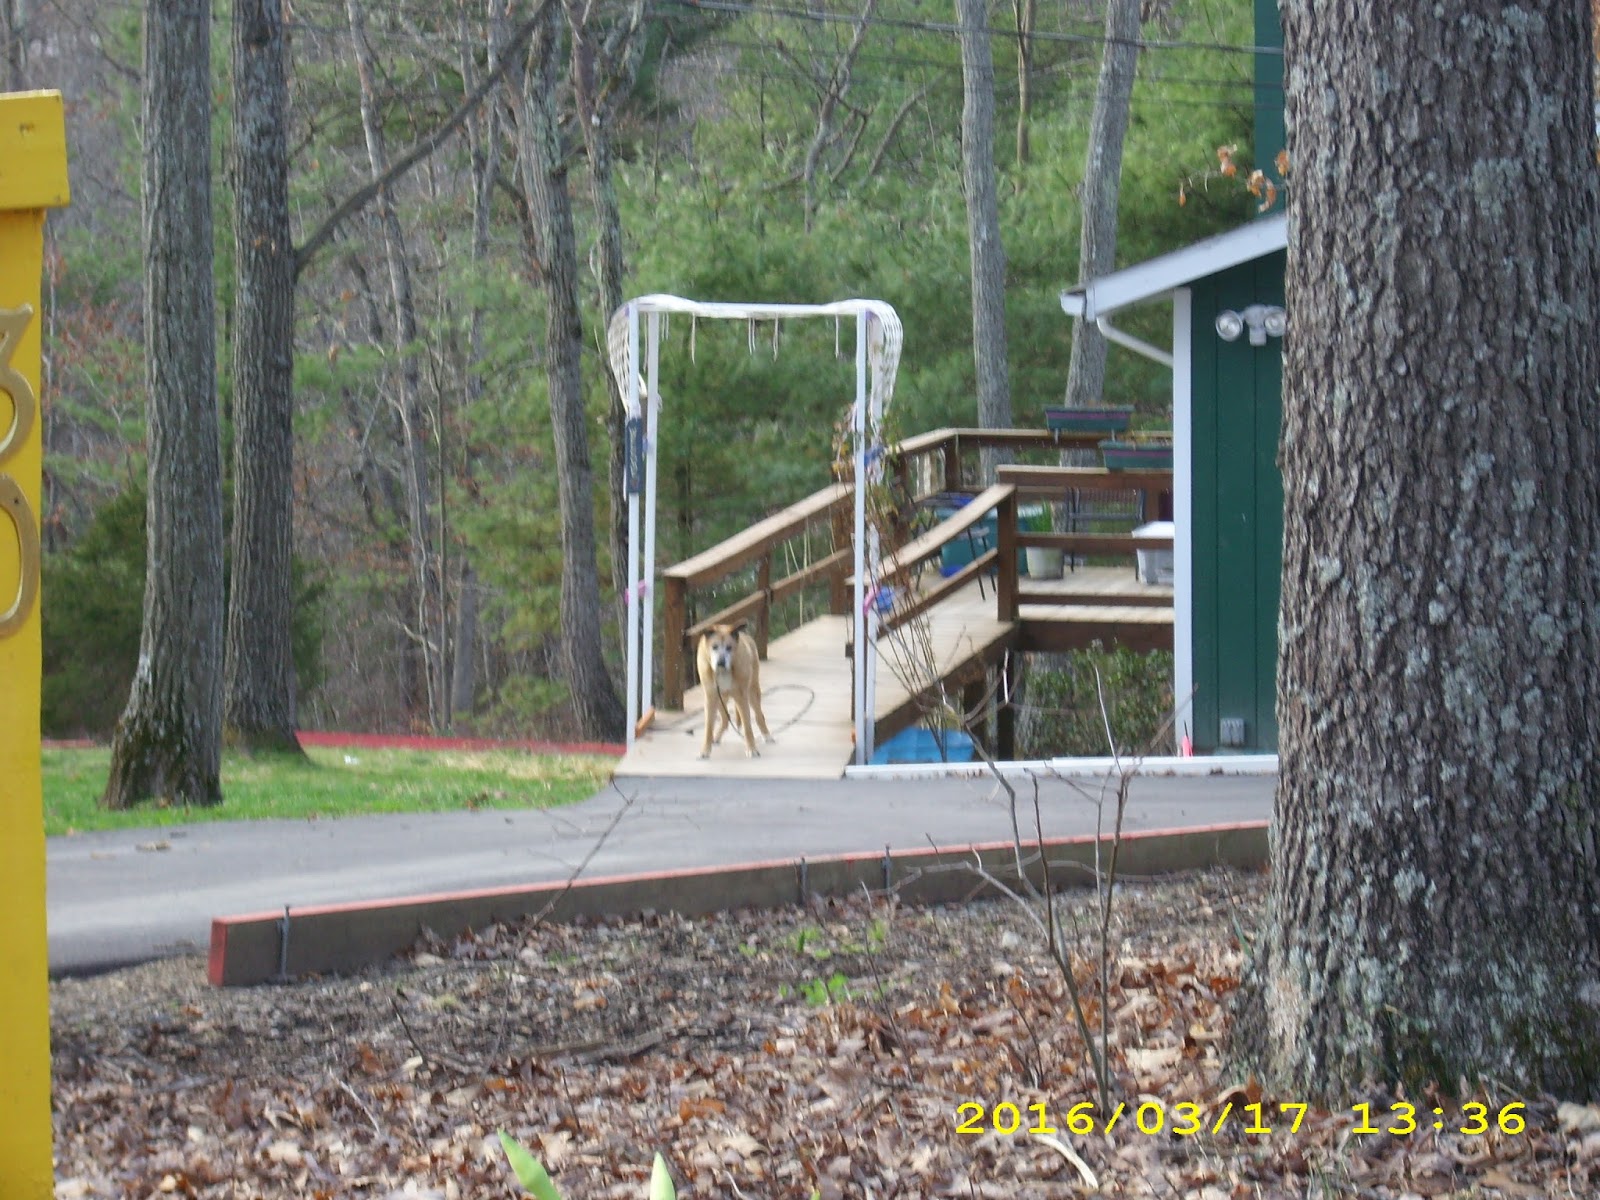
| Duke |
 |
| Skeleton of one side of the Trellis. |
 |
| Side is ready to be put up. |
We finally get the sides up and still I have not figured out what I can use for the top. Oh and my husband is tall and I had to make the trellis high even that he would not hit his head on it. I had t get on a step stool for me to reach the tip of it.
 |
| Here I am tying down the lattice. |
When doing projects at our house, we really need to get creative. We don't have a whole lot of money and I don't just up and throw things away. I am resourceful and I like to recycle and re purpose things.
That's How Gardening is On Misty Acre!


